Working Steps
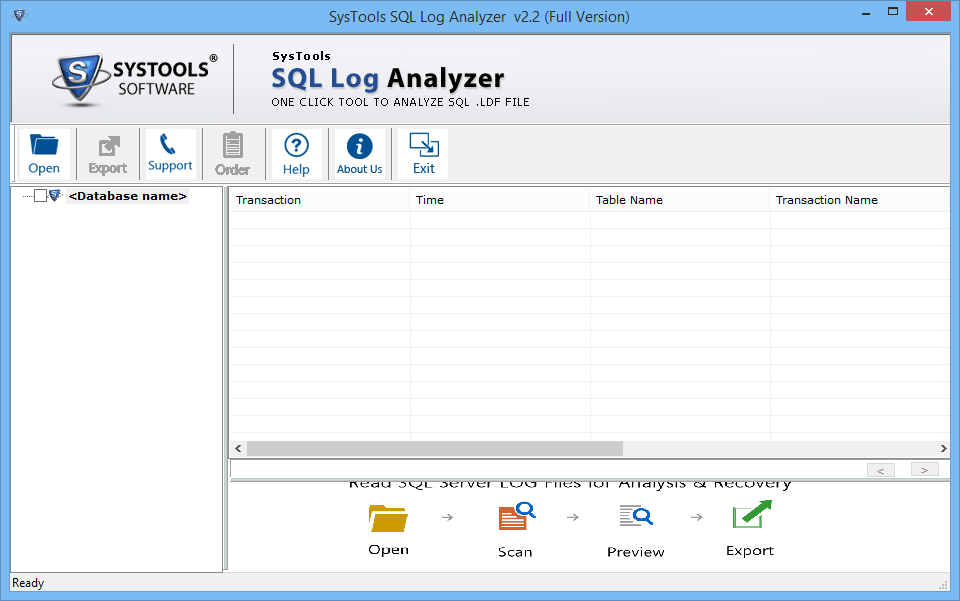
- In the Start menu, go to All Programs >> SQL LOG Analyzer. A window like this will pop up on screen:
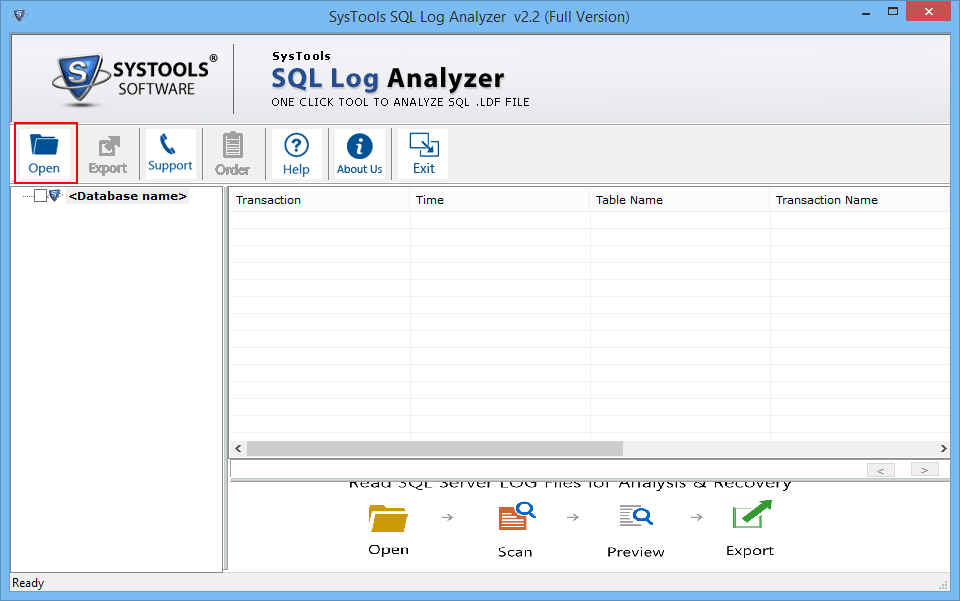
- In the navigation bar at the top, click on 'Open' button to add file.
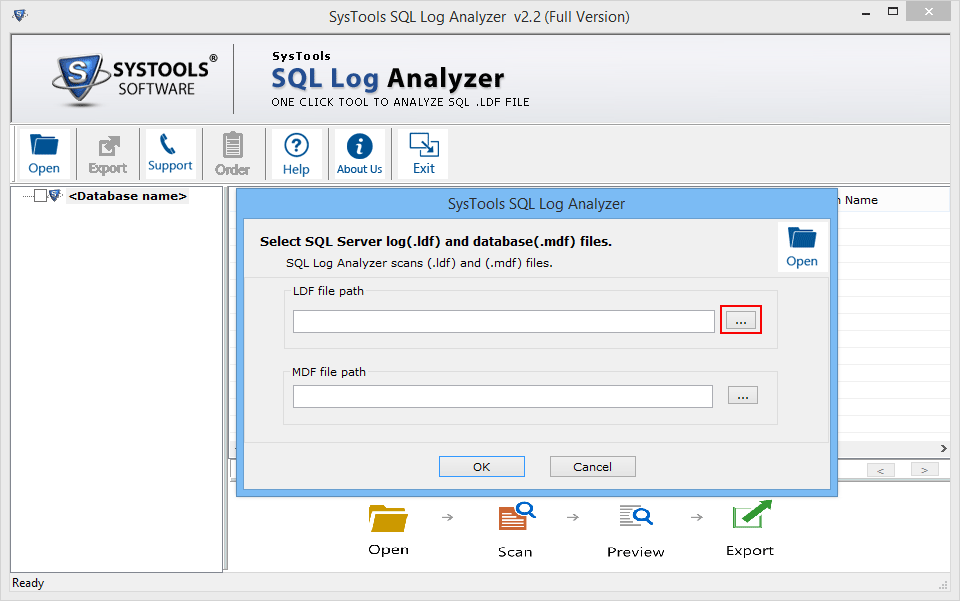
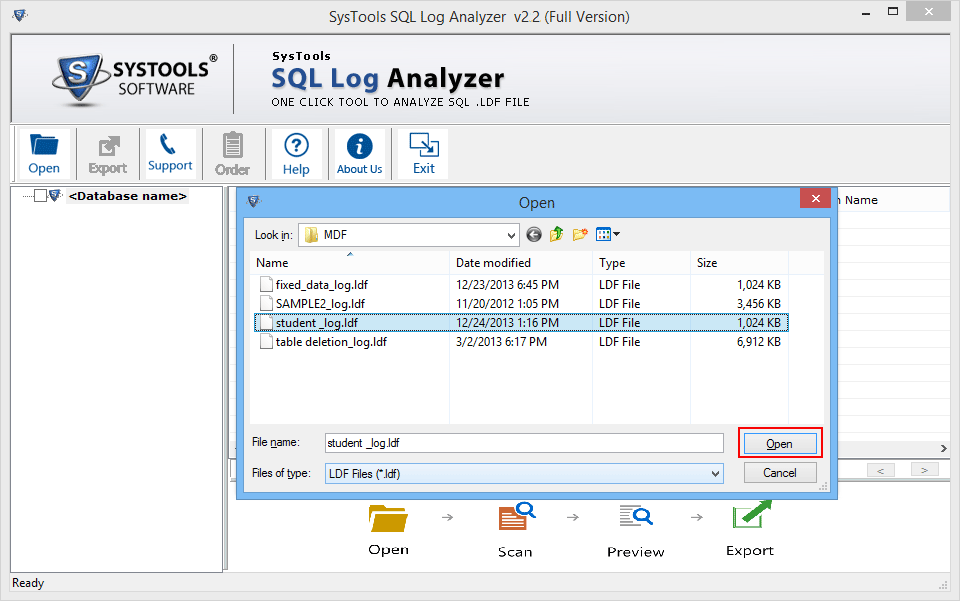
- Now Browse the file.
- Select the file from system (at once only one file can be selected). Click Open.
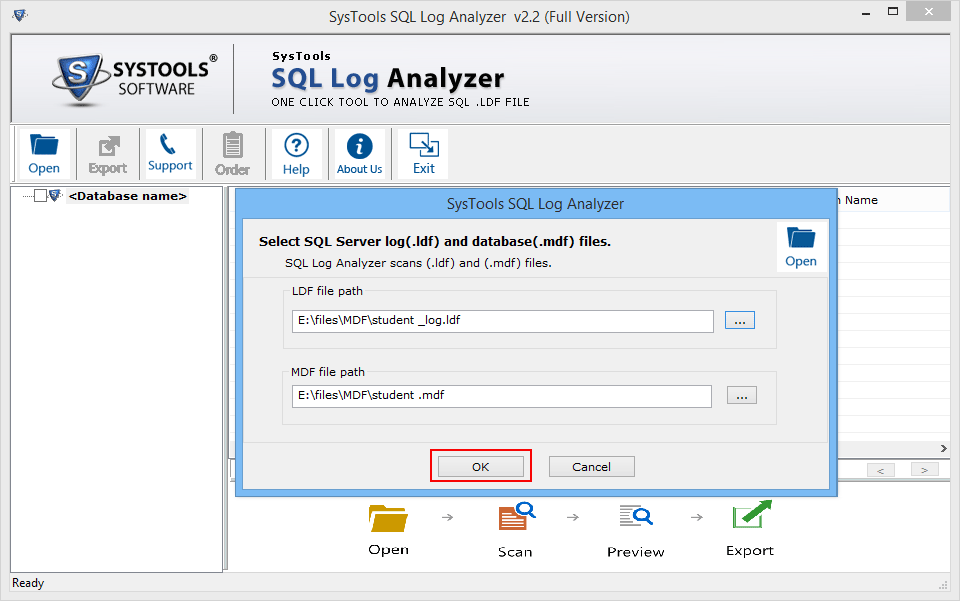
- If location of LDF and MDF file is same, the software will automatically detect the MDF file. Else, the user has to browse for the MDF file location.
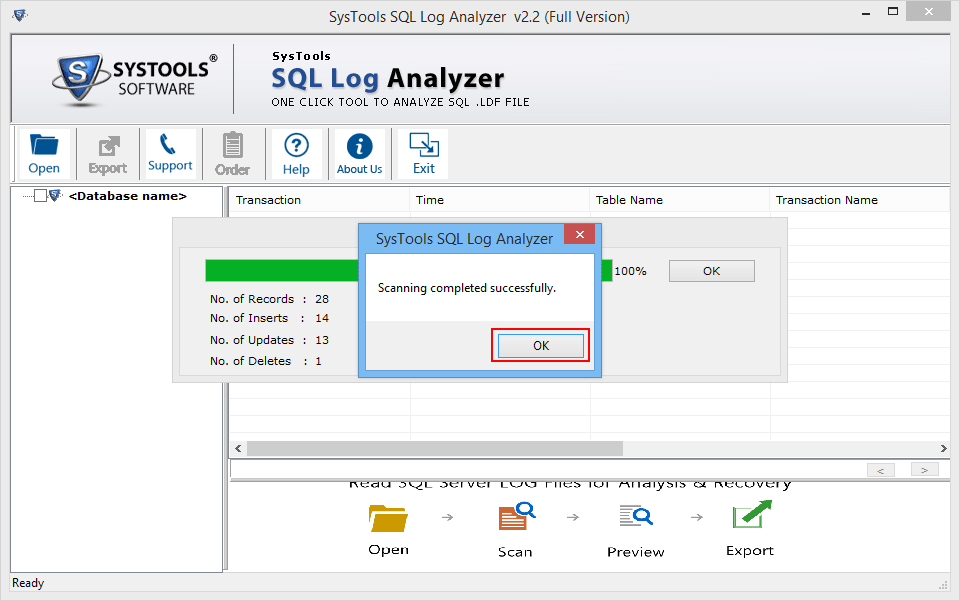
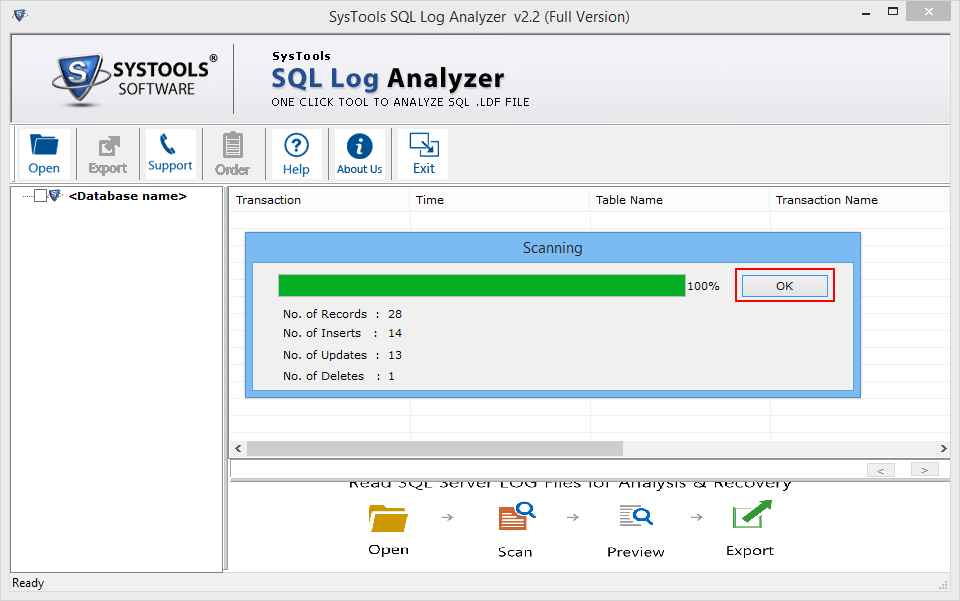
- The software will start scanning the selected file and once scanning is done, a message about the same will be received on screen. Click OK.
- A scanning report will be displayed within the tool.
- From the left panel of software, a table can be selected and its corresponding details will be available in right panel.
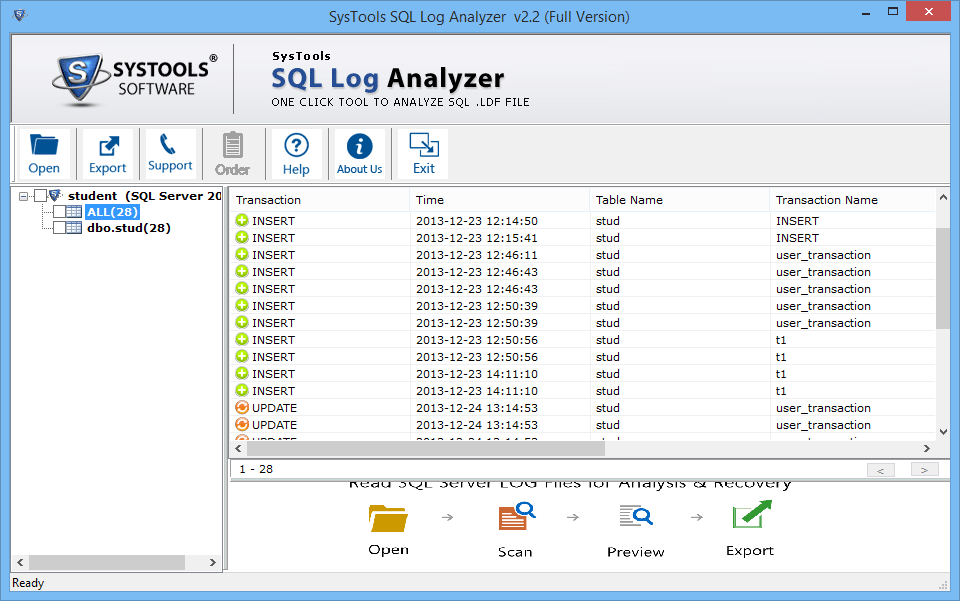
- The type of transaction can be sorted accordingly.
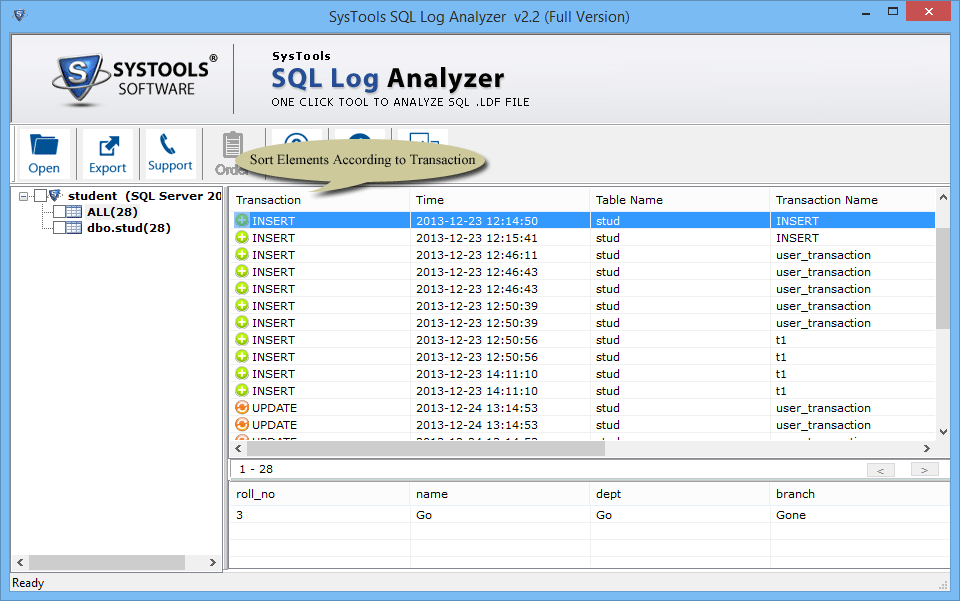
- The file can be sorted according to time when it was updated.
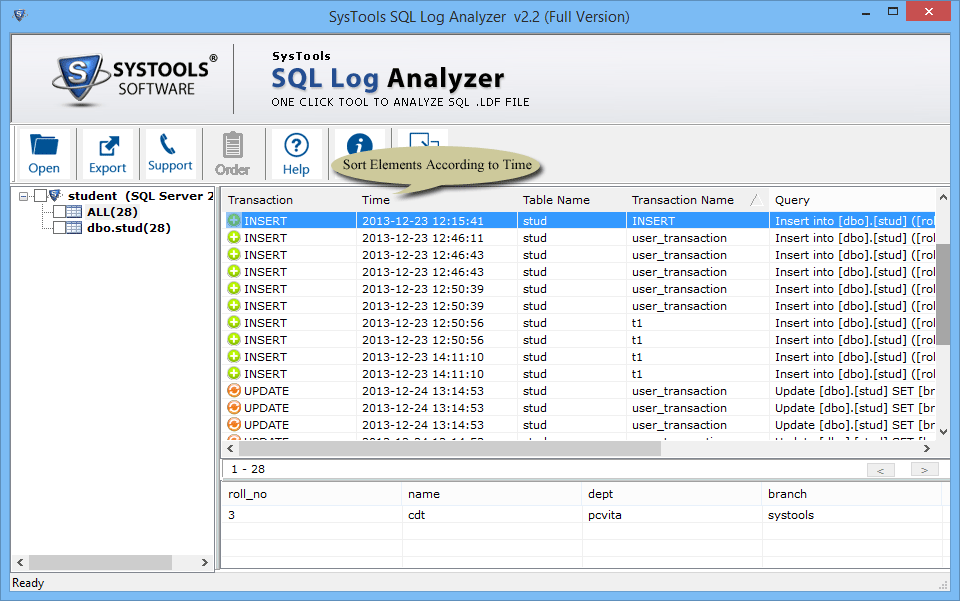
- The file can be sorted according to table name also.
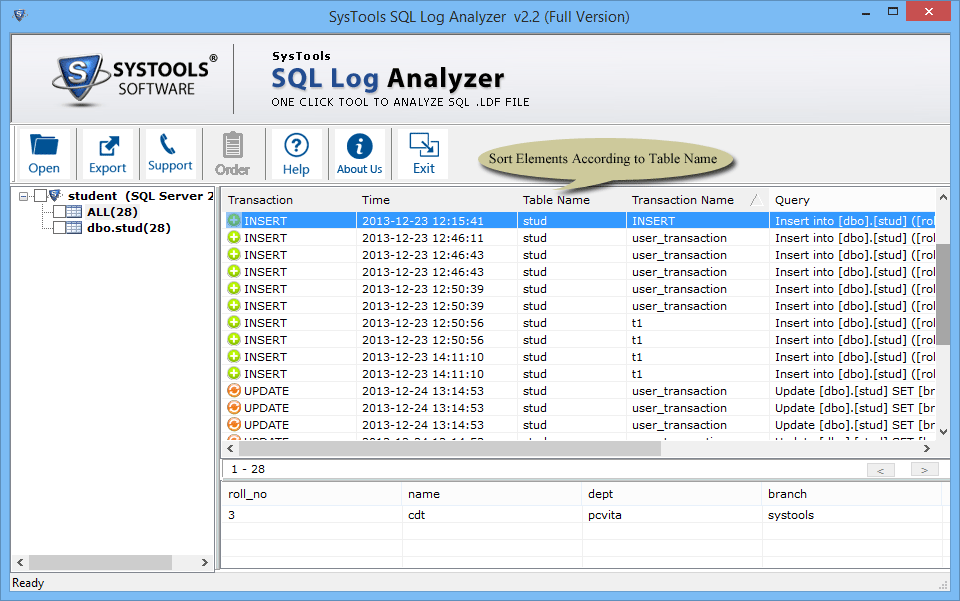
- The file can be sorted according to the name of transaction.
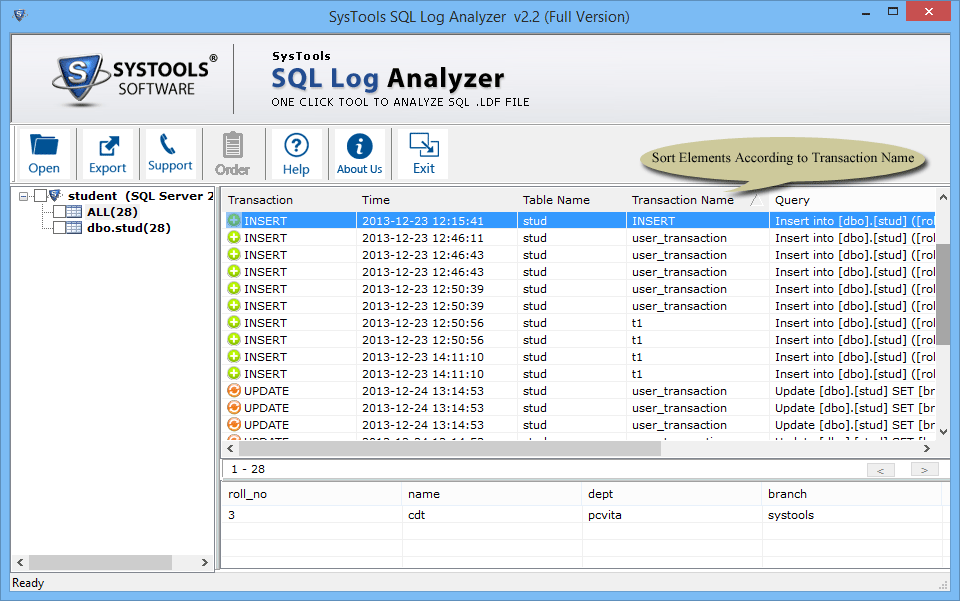
- The row and details of the selected transaction can be viewed at bottom of right panel.
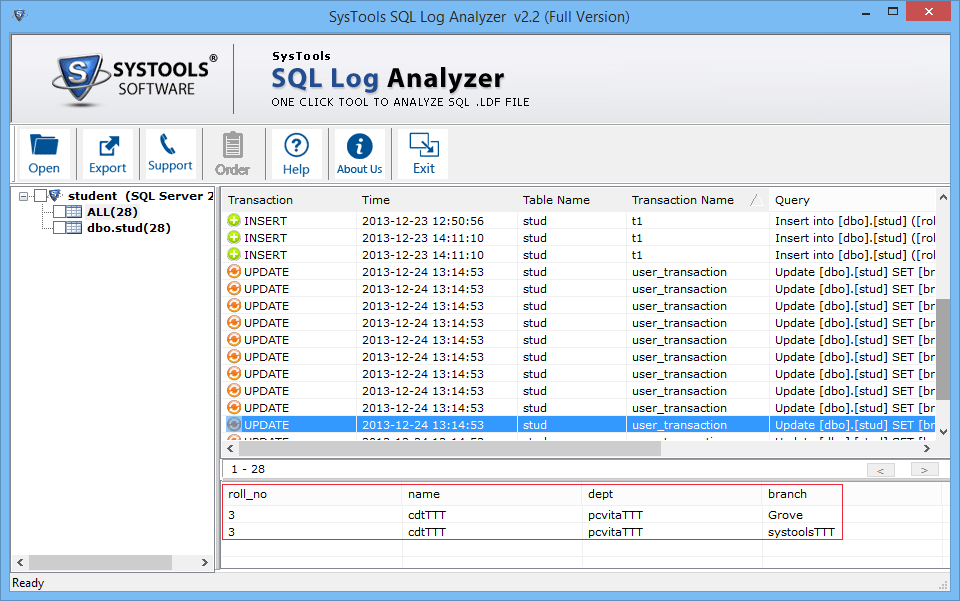
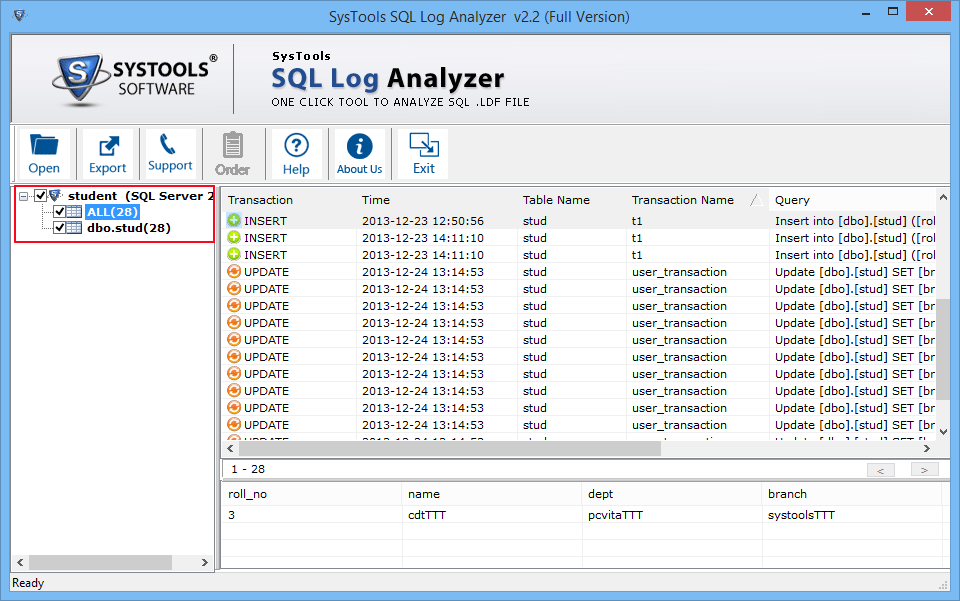
- The tool gives the option to export the tables from log file. Select the tables to be exported from left panel.
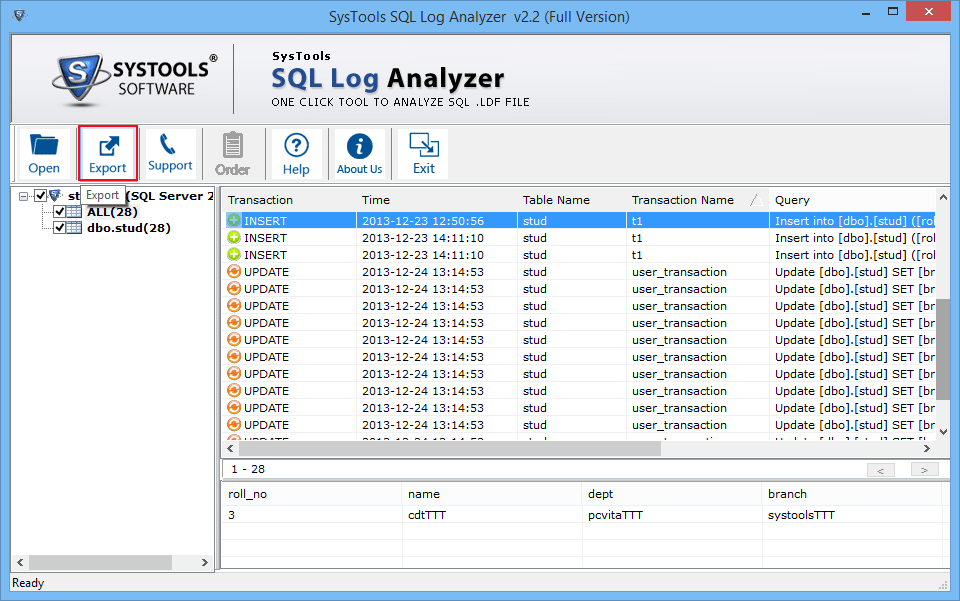
- Click on the 'Export' button from the navigation bar at the top to start exporting the tables.
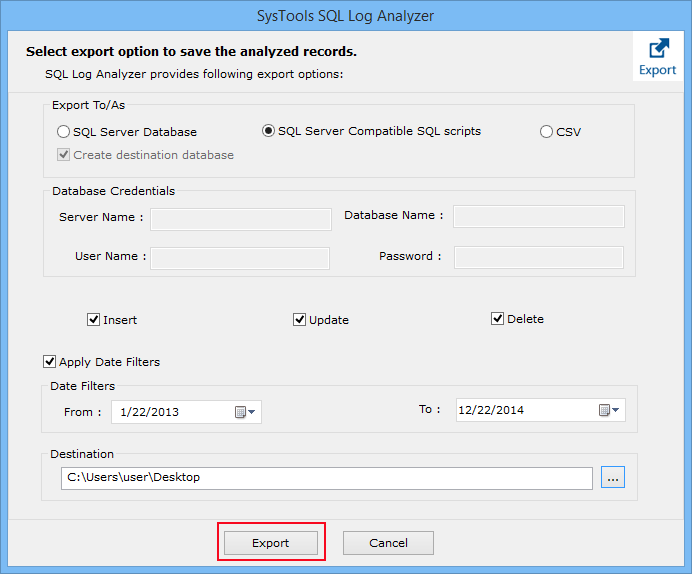
- The tool gives three options to export the log tables. If 'SQL Server Database' is selected, the tables will be saved in an MDF file which can be directly saved on Server. Also, the Database Credentials column has to be filled.
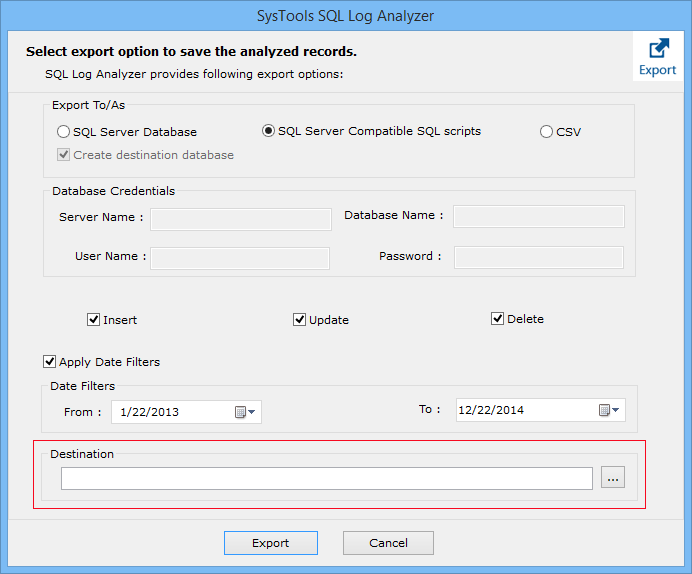
- If 'SQL Server Compatible Scripts' is selected, chose a destination location on local machine where '.sql' file will be created.
- If 'CSV' file is selected, the details of selected file will be exported into a .csv file.
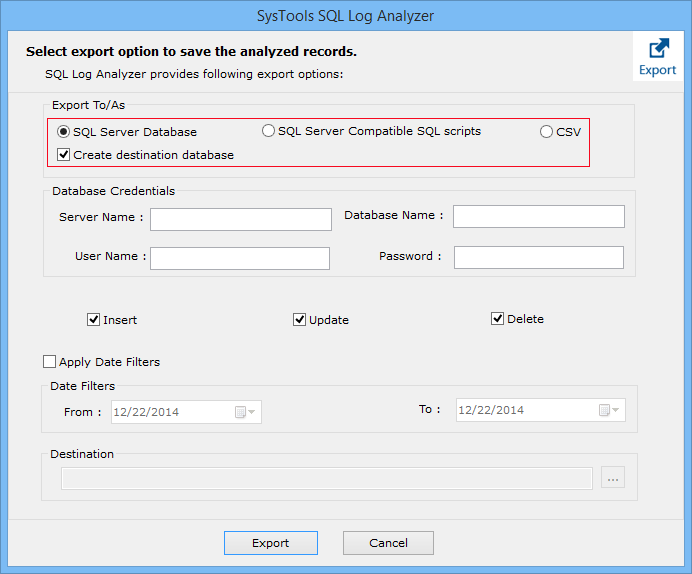
- Select record types which want to export.
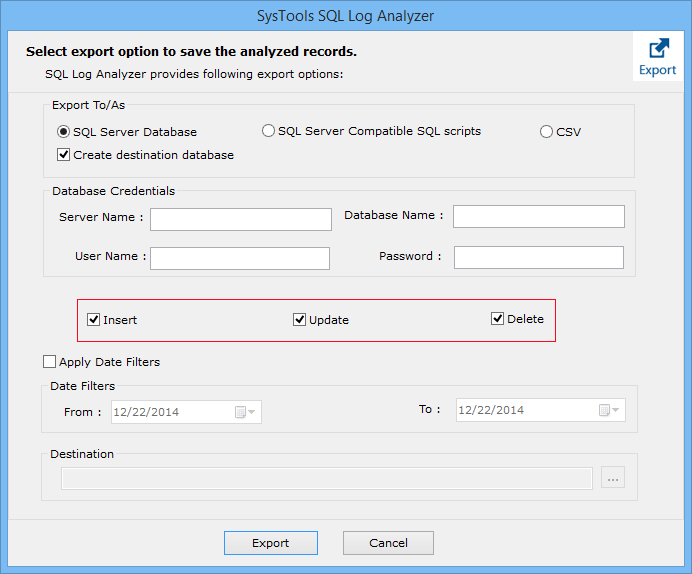
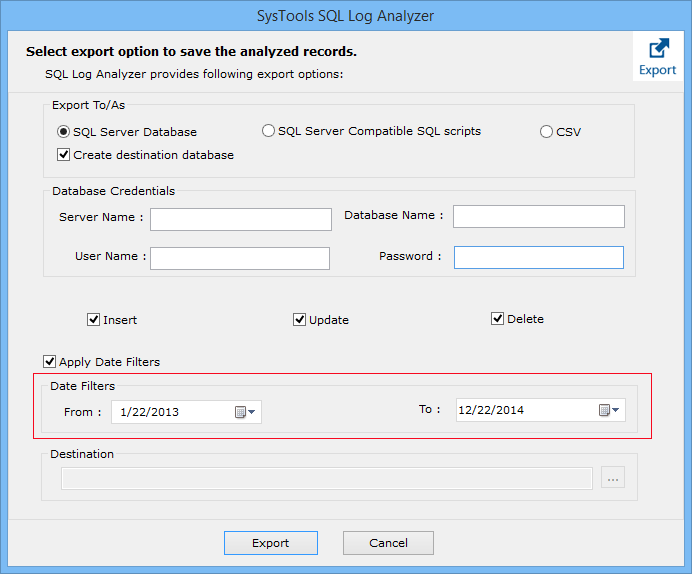
- Filter & the records according datewise.
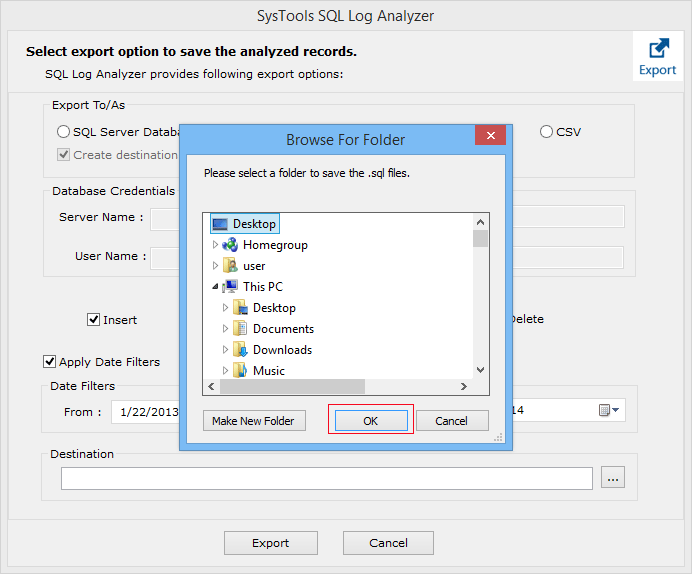
- Browse for a location where SQL Server compatible scripts or CSV file has to be saved.
- Select the location and click OK.
- Click on Export button to start saving process.
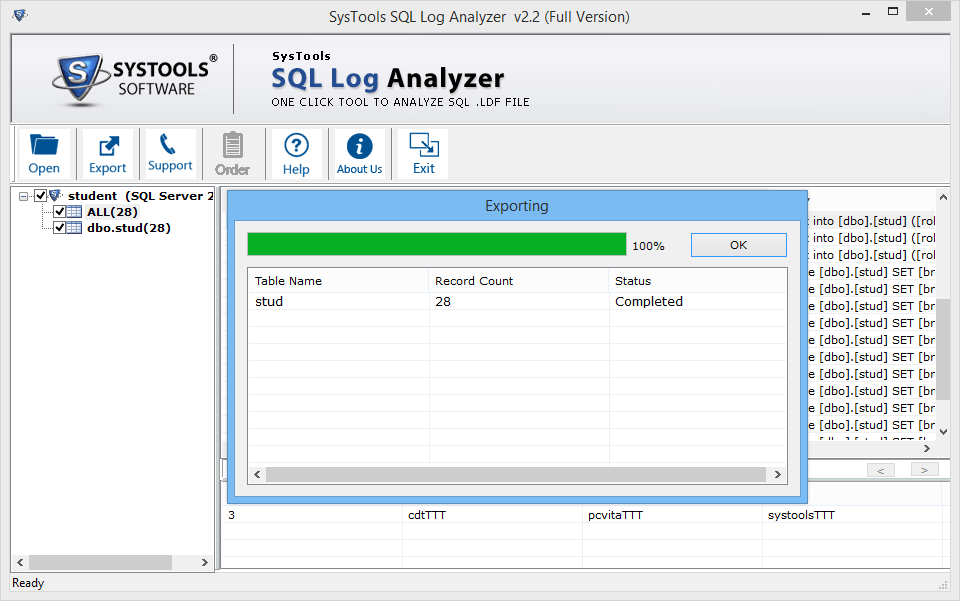
- A status regarding the export process completion will be displayed on screen.
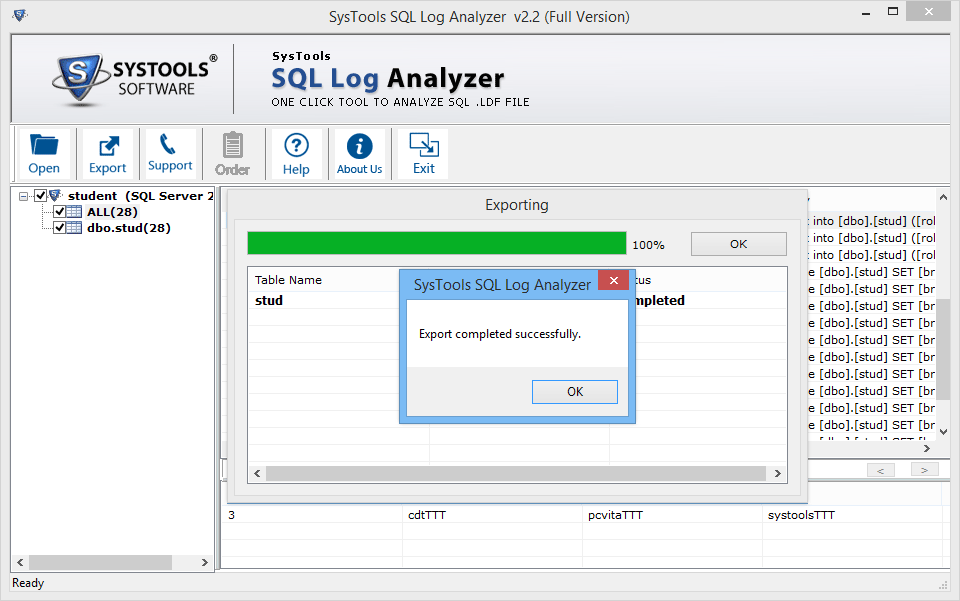
- Click OK when message regarding successful export is obtained on screen.
